Gone are the days, when you have to wait a couple of days to add products to your eCommerce website. MoreCustomersApp provides features where you can Add, Update, and Delete multiple products from just a few clicks from your Admin Panel.
Managing products in MoreCustomersApp – an eCommerce platform is very easy and simple. Whether you are on the desk or on vacation, MoreCustomersApp provides you the facility to log in to your Admin Panel both from Laptop and Mobile. Use the same login Info to access the Web-based Admin Panel or Admin Mobile App.
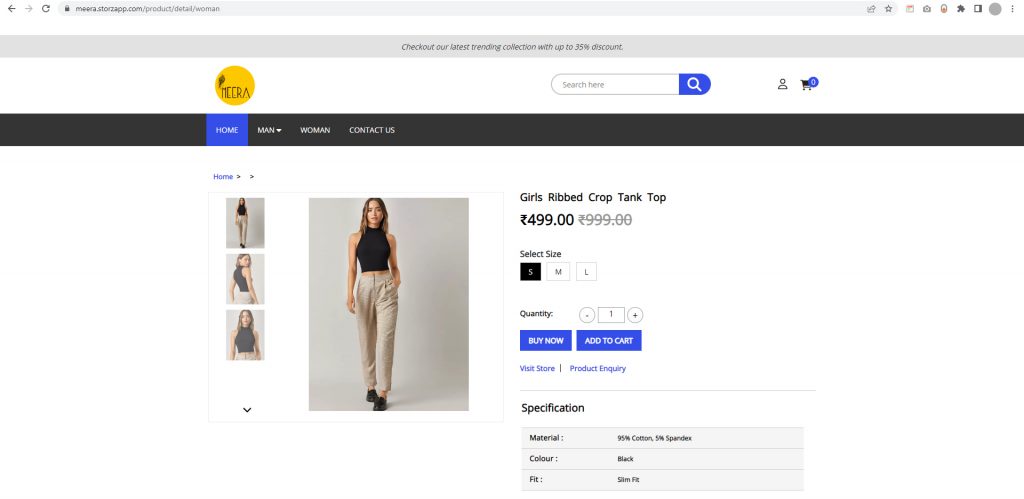
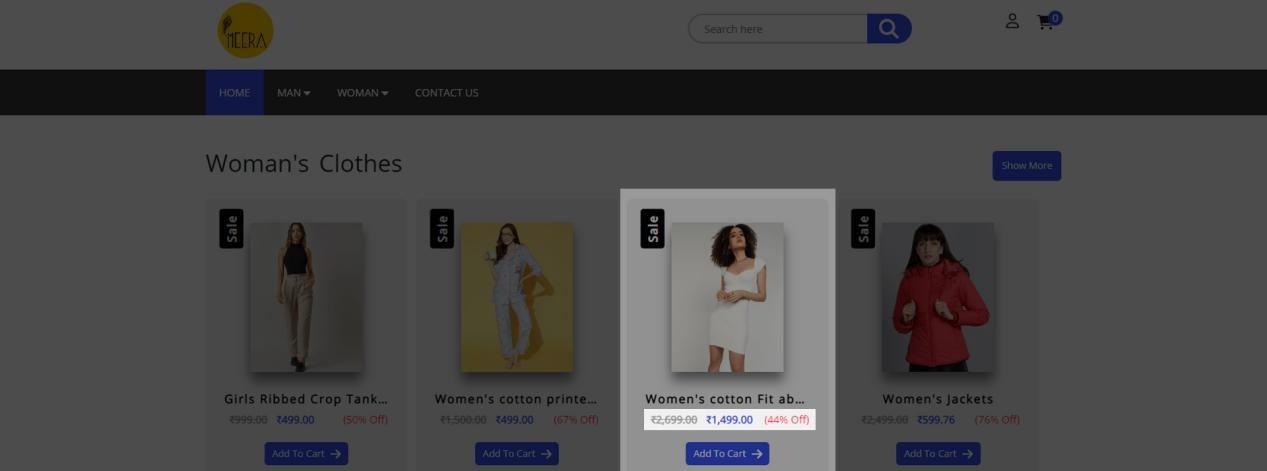
A website is a storyteller of your Business and the Product Page is the Most Important Part of your eCommerce Store.
Build your Product Page with MCA & Increase Sales of your Online Store Start Free Trial
So why wait let us Add our first product. Every product has to be categorized Learn How to Add Product Categories.
Add Product #
Desktop
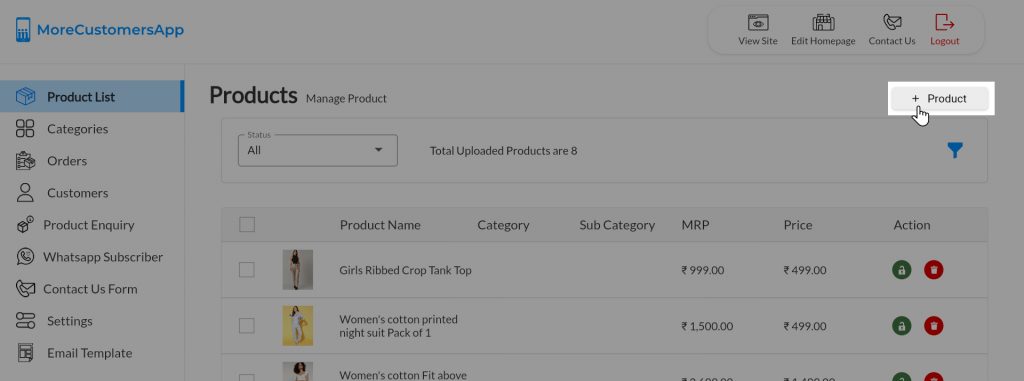
- From your MoreCustomersApp admin panel , select Products
- On Right Corner Click on +Product button
- Enter the Product Name, Short and Long descriptions, price, Primary category and subcategory, and other product details. Product descriptions are like Sales executives for your Online store, they can help or hurt the conversions of potential buyers.
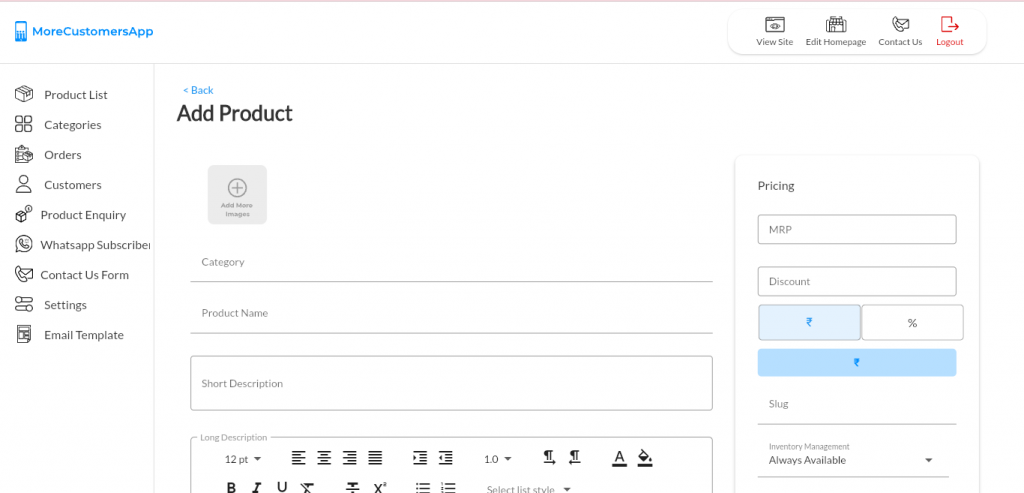
- You can add a product image, product category accordingly, Product Name, Price of a product, slug, Availability of product, Description here.
- MoreCustomersApp platform help you set you both MRP and Sale Price for your products. In Pricing section add MRP of the product, if you intend to give any Discount on that product , add Discount value. You can choose either Amount Off or Percentage Off by selecting the currency or percentage button and accordingly the Sale Price will be shown on website, with Sale Tag
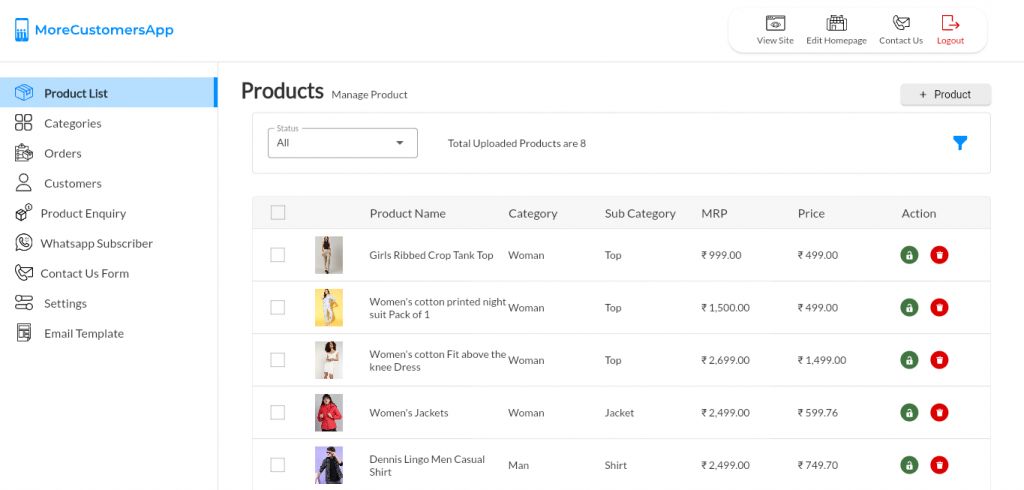
- Click on Save to create new product. Newly created product will be seen in Product List.
- For adding More Details about product like Specification, Variants, Tags, SEO,click on Save and More Info.
- Learn How to Add Product Inventory Here
- Learn How to Add Product Variants Here
- Learn How to Add Product Specification Here
- Learn How to Add Product Tags Here
- Learn How to do Product SEO Here
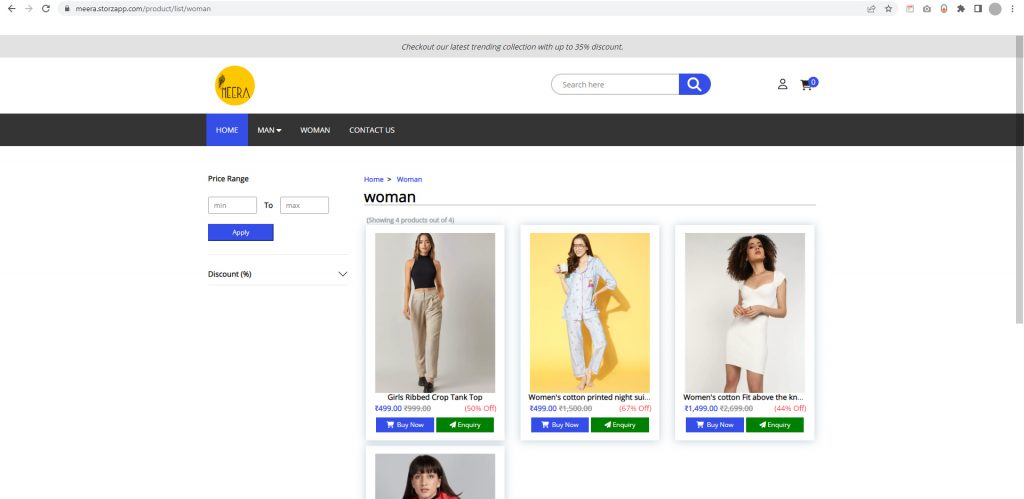
- View the Product on Website
Android
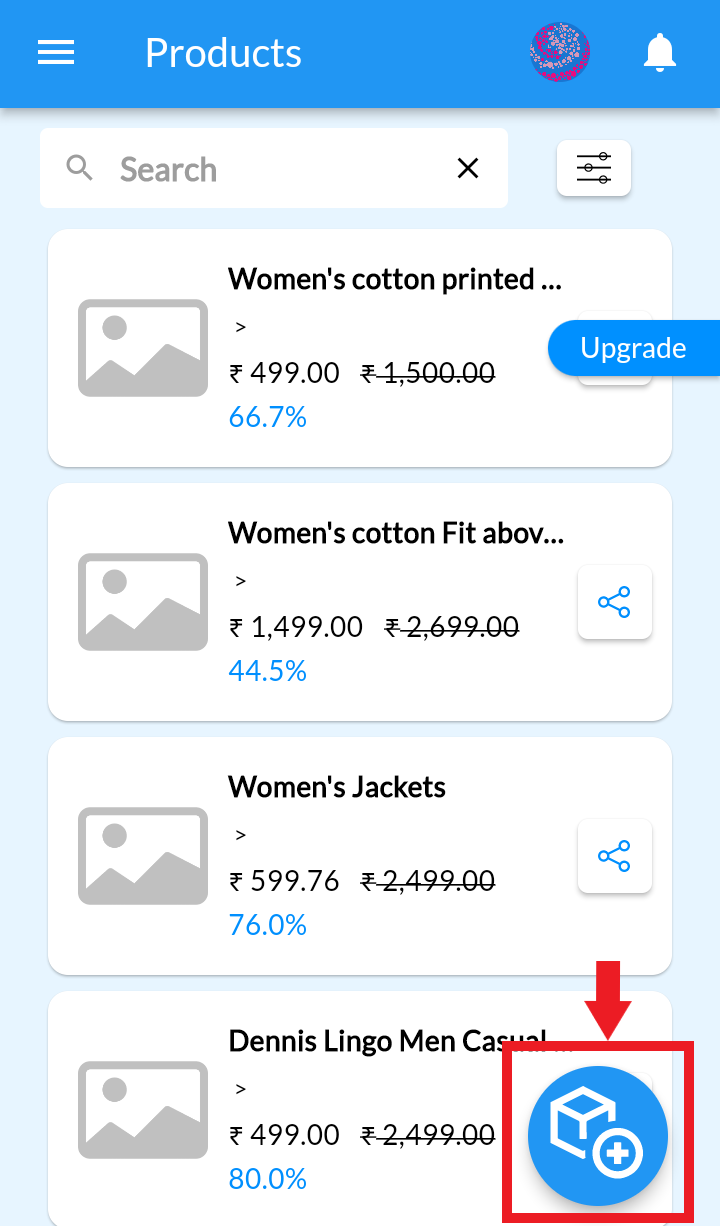
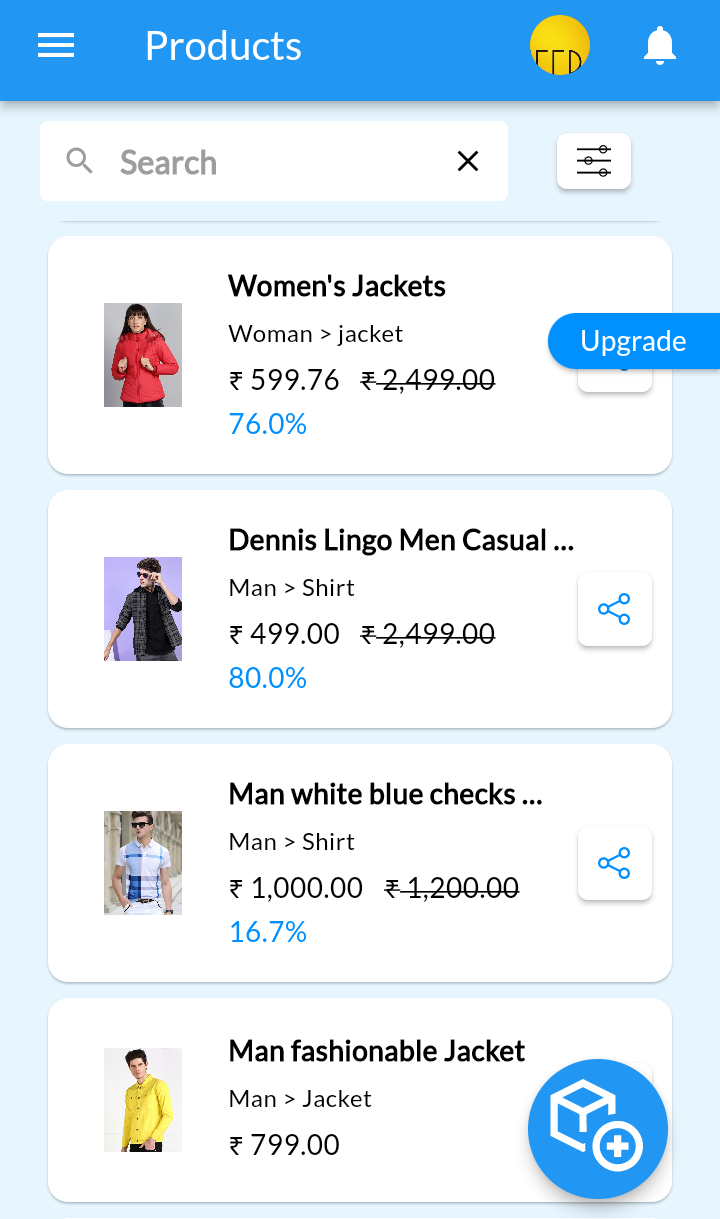
1. Click  and Go To Products

2. Click on +product button at bottom.
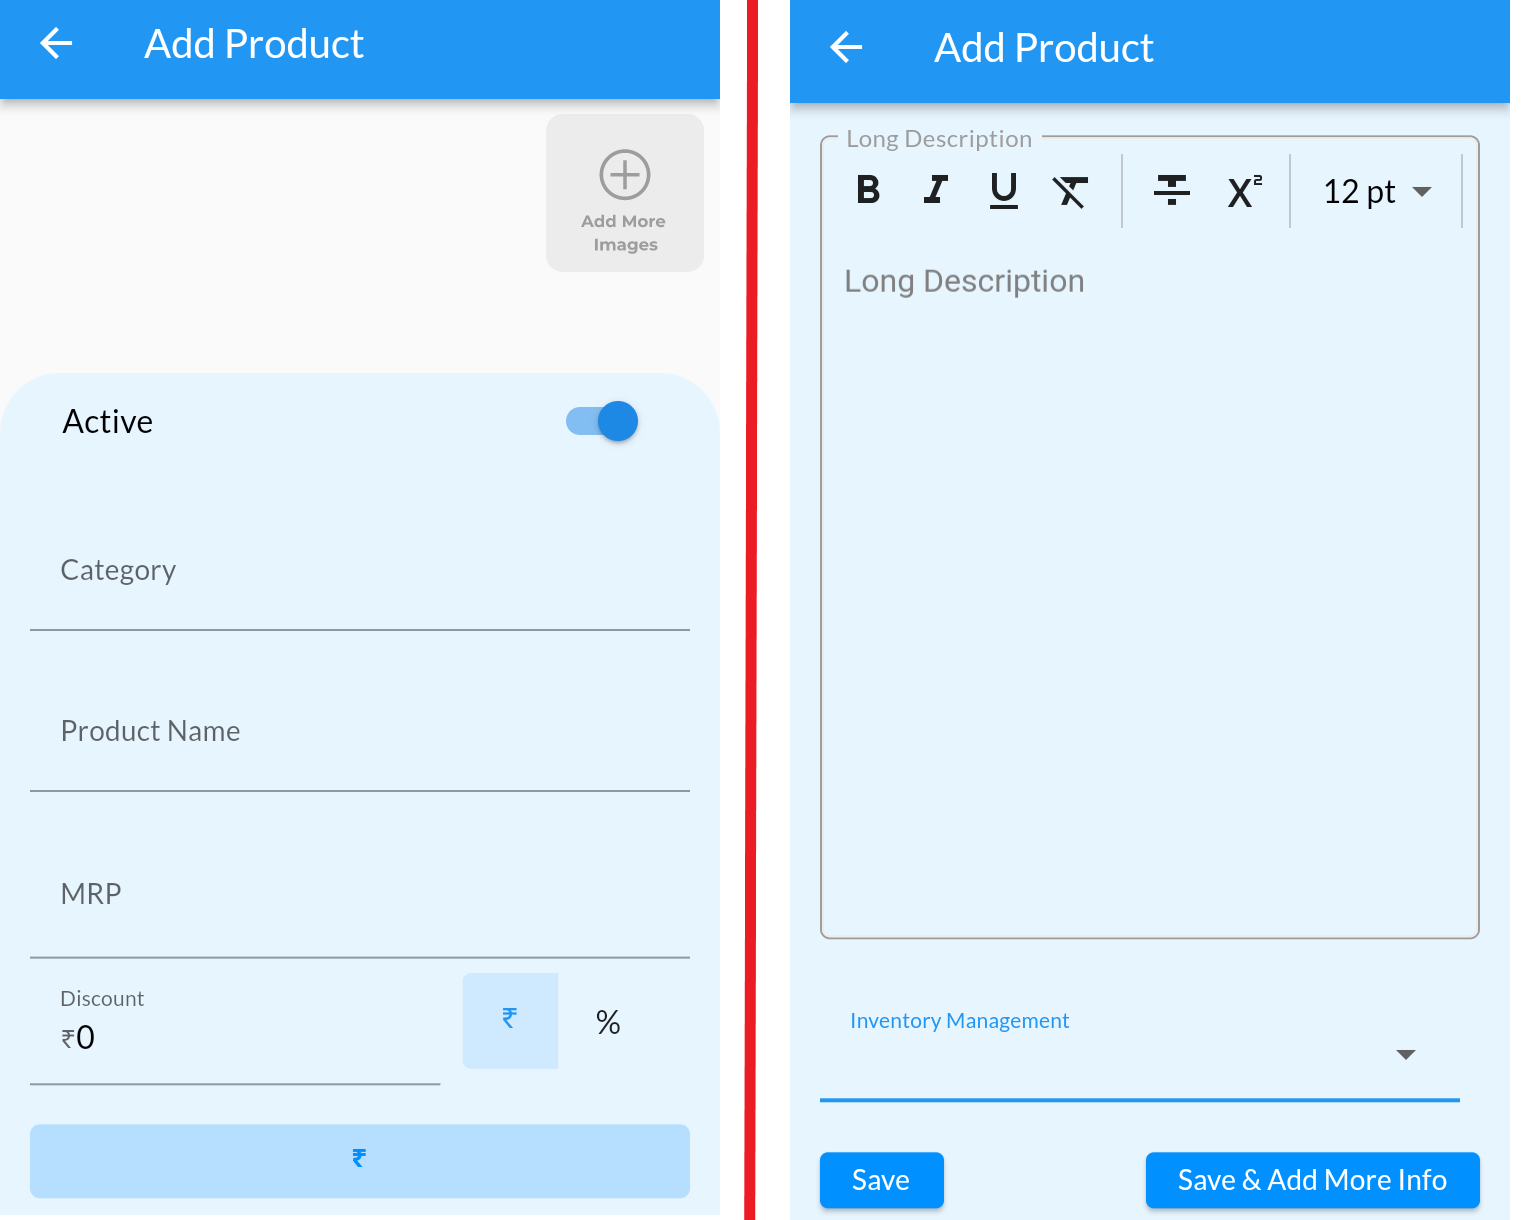
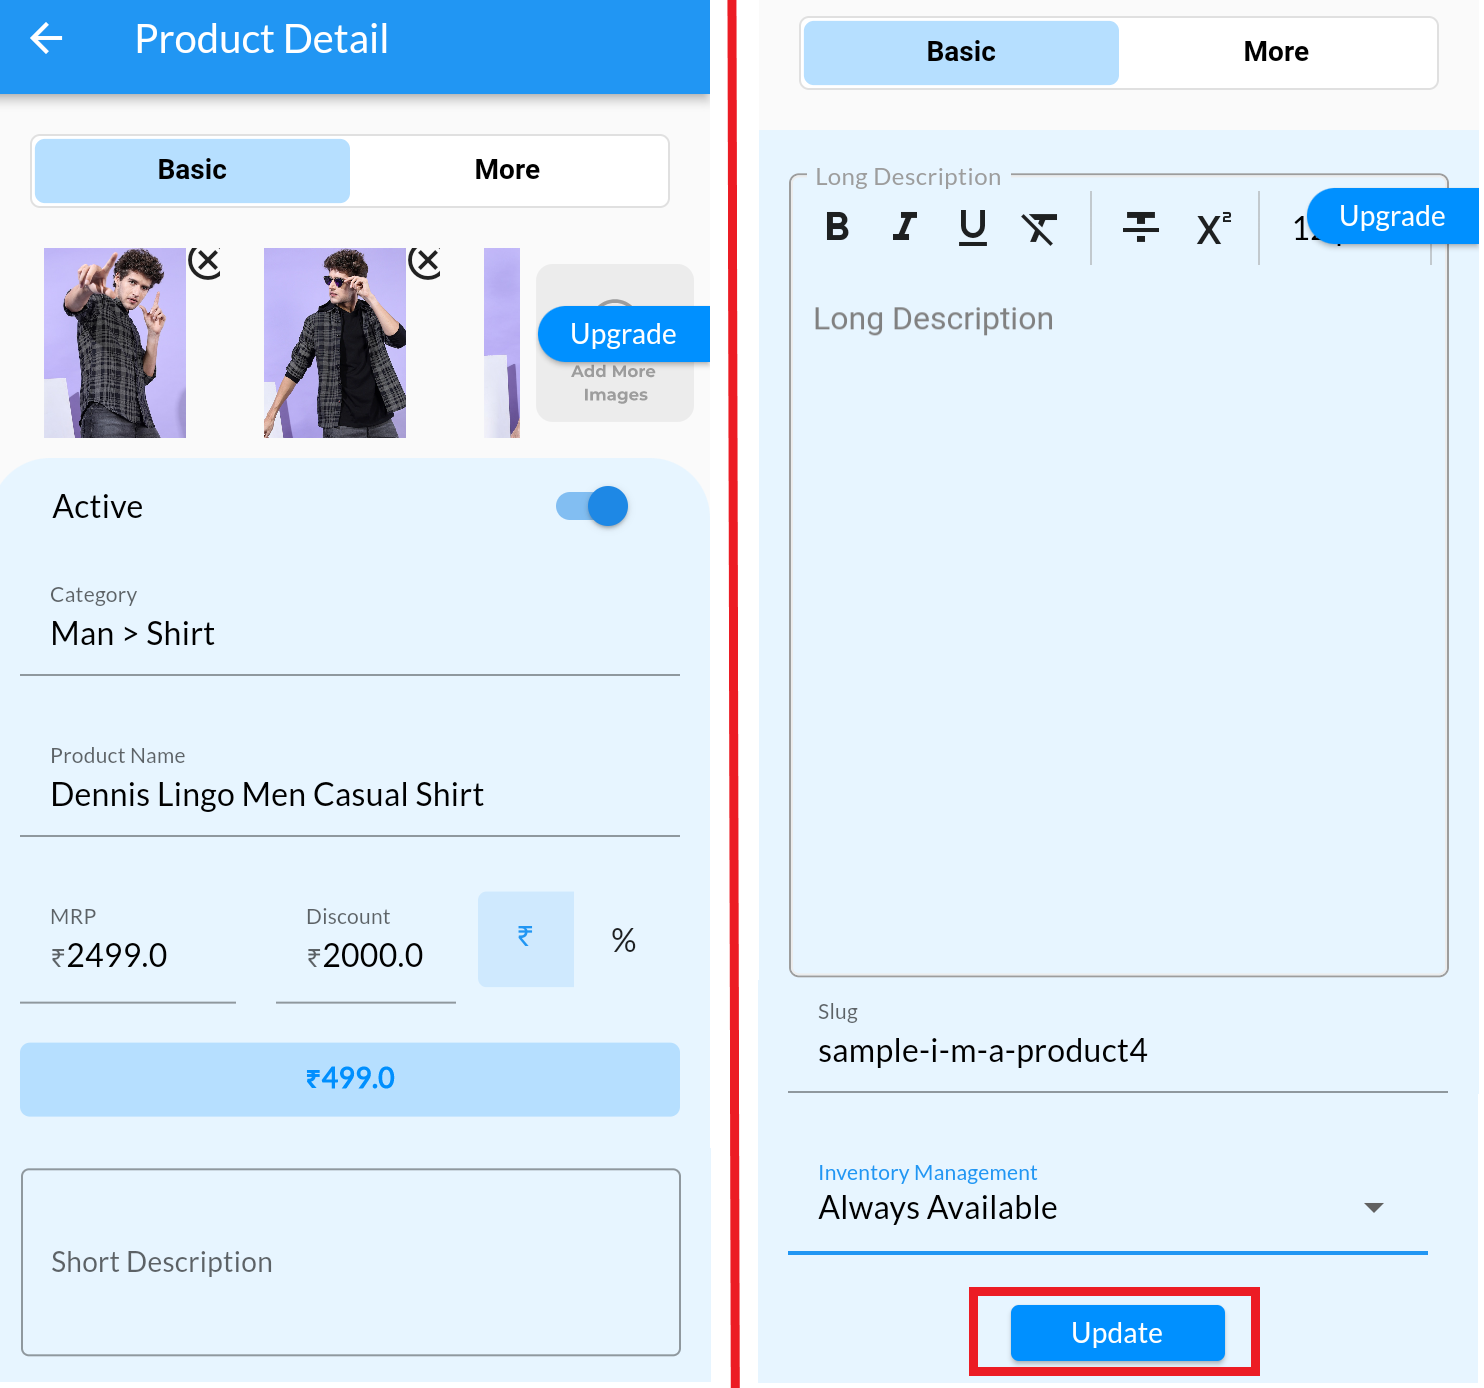
4. Add product image, category, Product Name, Price, inventory, Description here. Click on Save. For adding More Details about product like Specification, Variants, Tags, SEO, click on Save & Add More Info.
Edit Product #
After you’ve created products, you can update them to change prices, images, descriptions, or any other product details.
Desktop
- From your MoreCustomersApp admin panel , select Products
- In Manage Products select the product you want to edit.
- Click on Product Name.
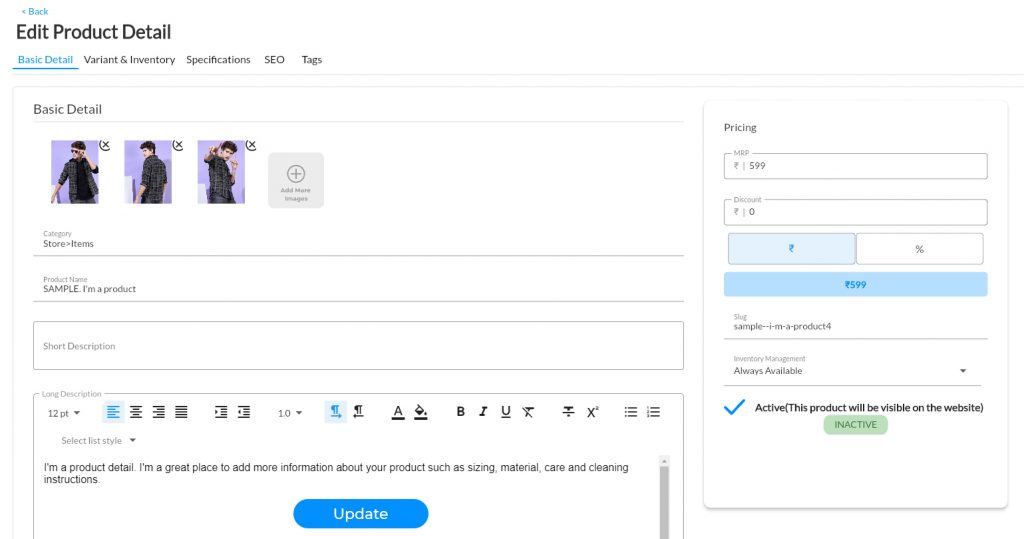
- Edit Basic Detail of Product Like Product Images, Name, Category, Description, Price and Slug.(Note Slug is part of URL mainly used for SEO purpose)
- Click on Update
- To Edit More Details of Product Like Inventory, Variants, Specification, explained in their respective help
Android
1. Login into MCA Admin App
2. click on ![]() , select Products.
, select Products.
3. Click on the Product, you want to Edit from Product List
4. Edit Product information and Click on Update
Saved changes take effect immediately in your online store and sync across all your sales channels.
Set Product Price and Inventory #
Desktop
Set Product Price
- From your MoreCustomersApp admin panel , select Products.
- In Manage Products , Click on the product in which you want to edit MRP.
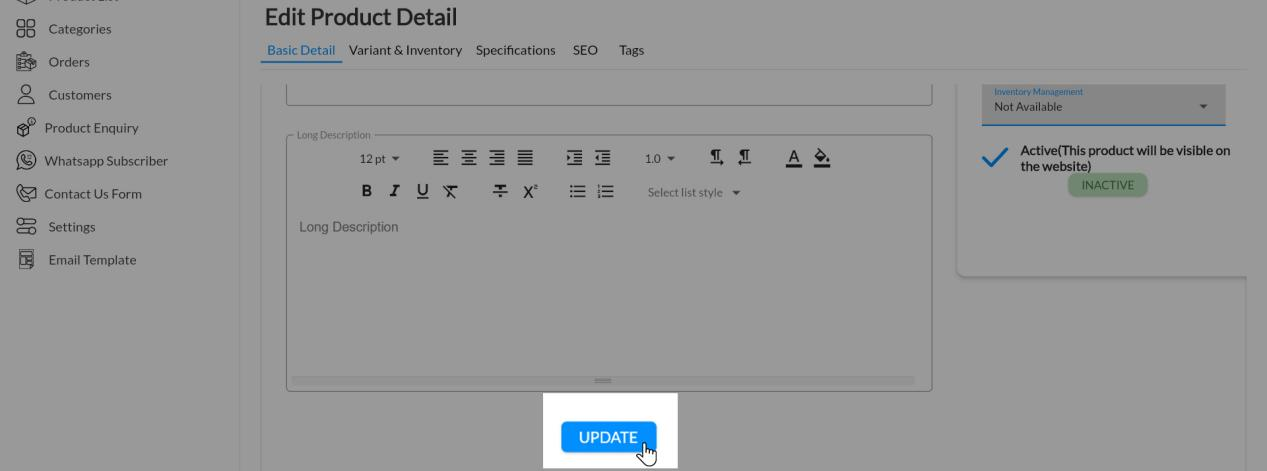
- In Edit Product Details click on Basic Detail.
- In Pricing you can set MRP with Discount.
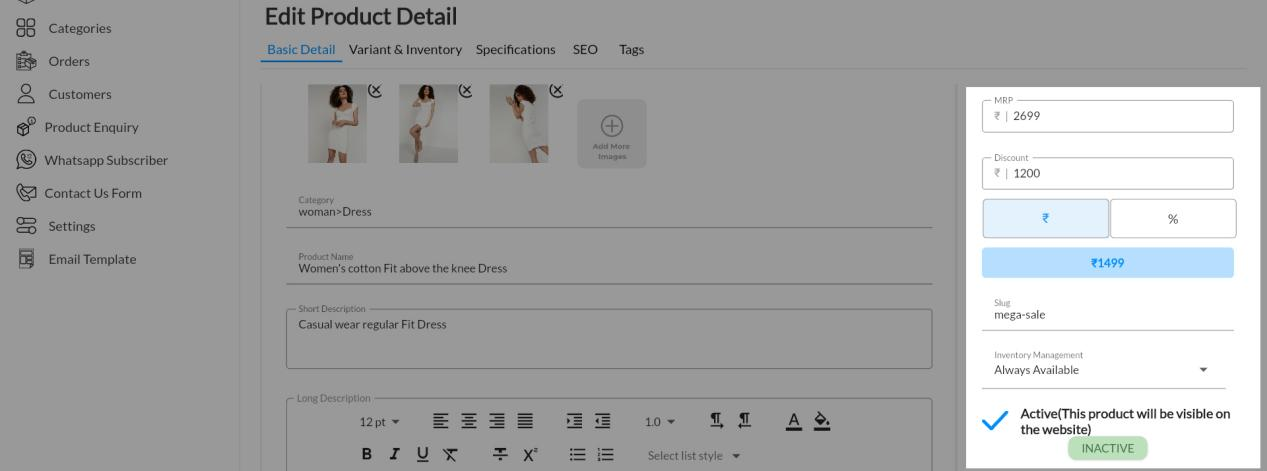
- You can set Discount as in Rupees Off or Percentage Off. (Write 0 if there is no discount.)
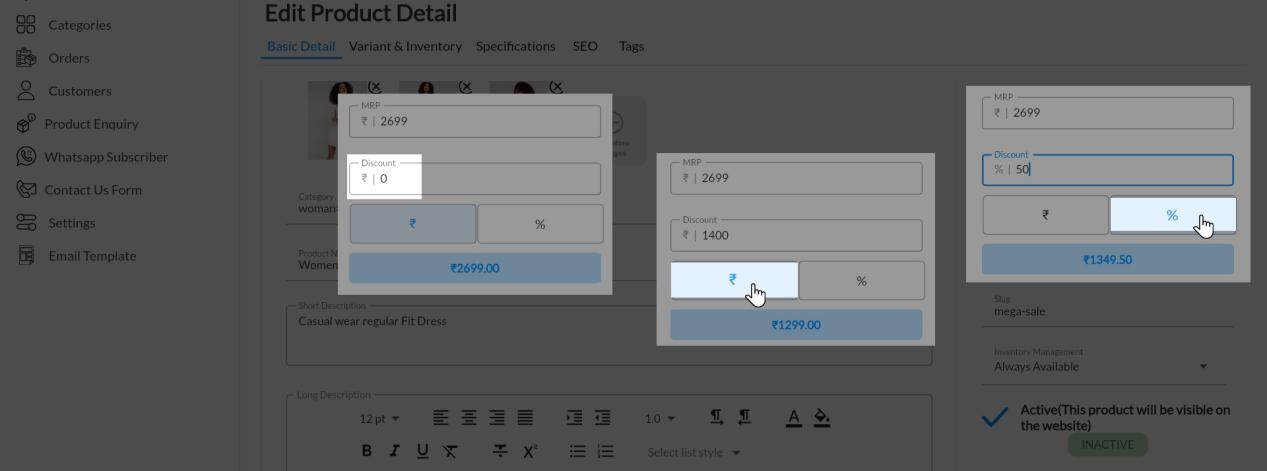
- After discount price will automatically show there. If you are adding variant, you can set different quantity, price and discount (as in rupees or percentage) for each variant. Learn How to Set Product Variant Price and Inventory here -> Note:(If you have different prices for variants, then in Product List Page it will show Basic Price, but in Detail Page it will show Price of 1st variant selected)
Set Product Inventory
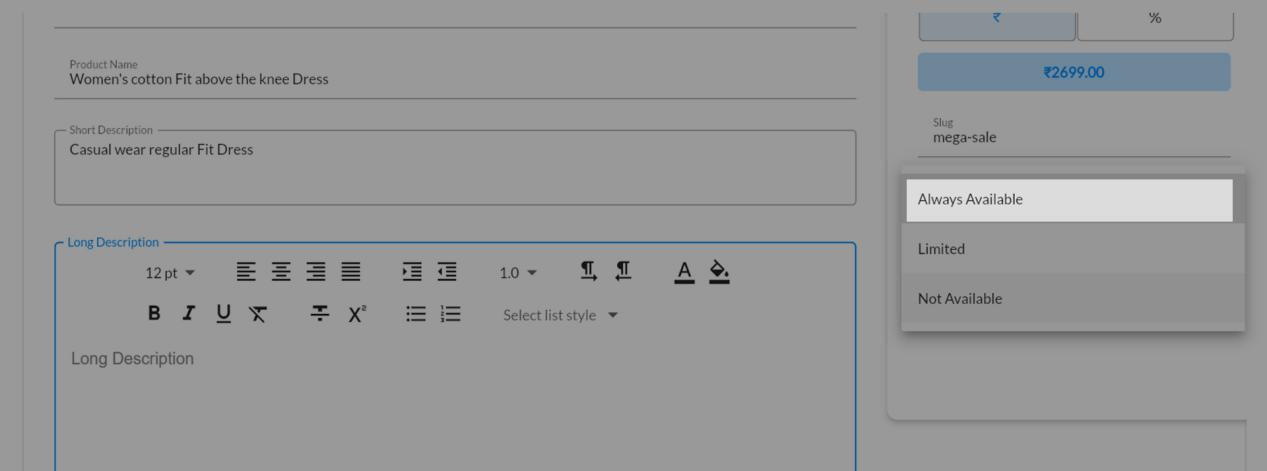
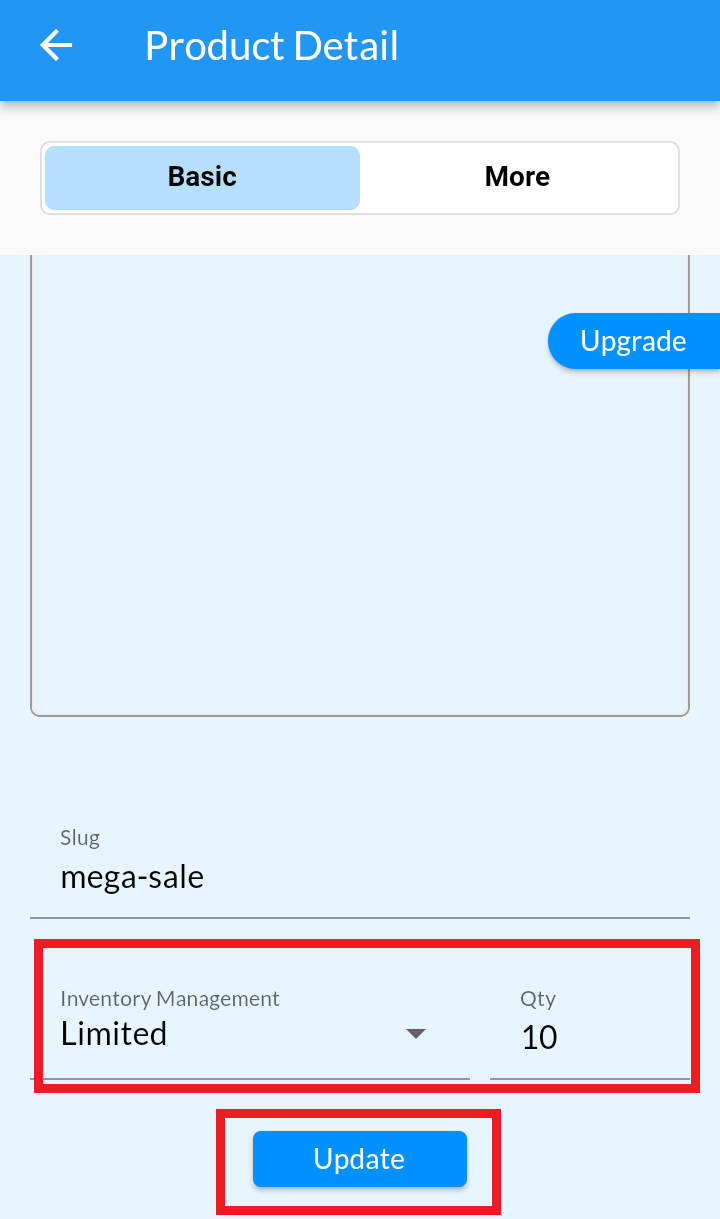
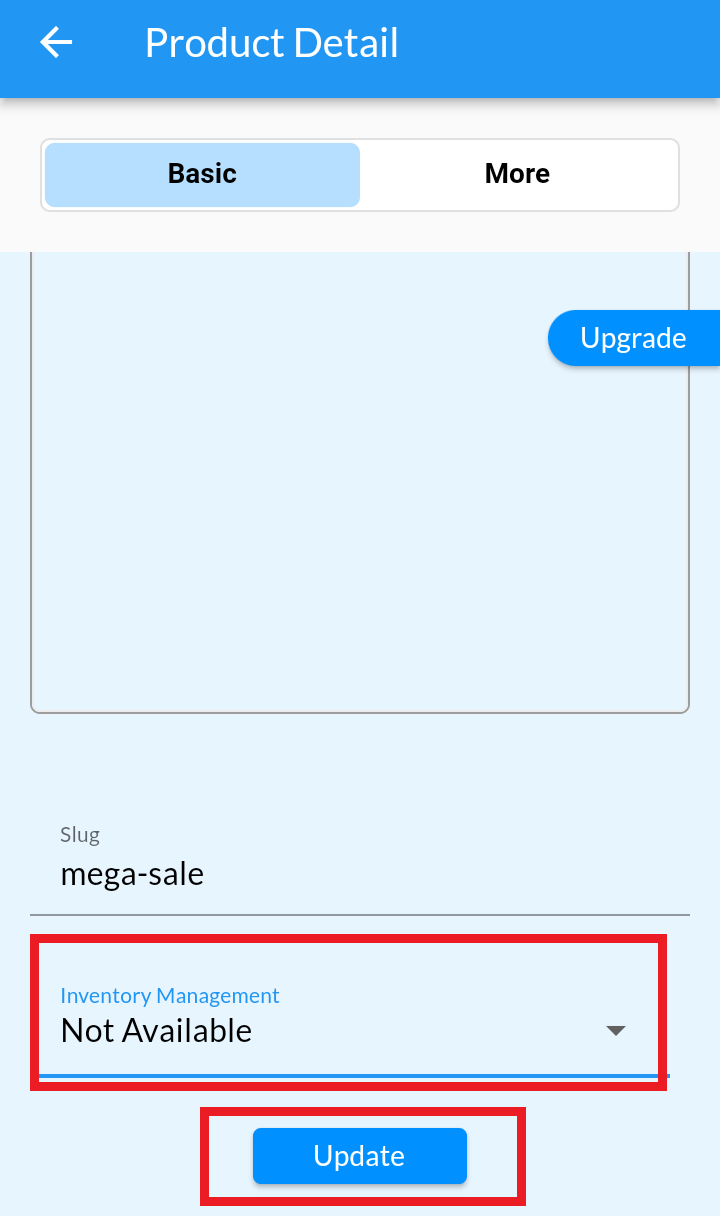
- Open the product that you want to set quantity as per above steps. In Inventory Management you can set availability of your product.
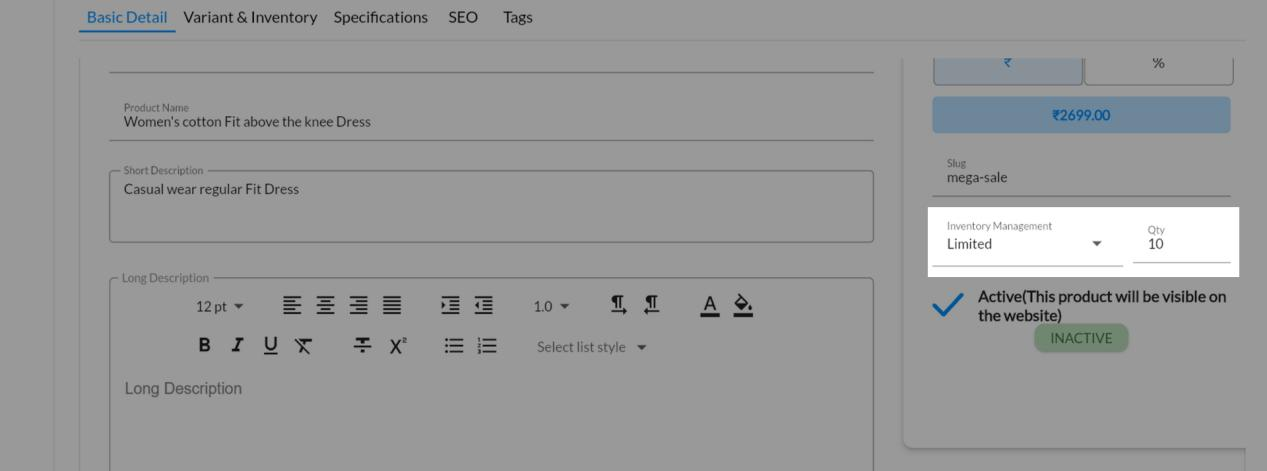
- Select Limited and enter quantity if you have limited stock of your product.
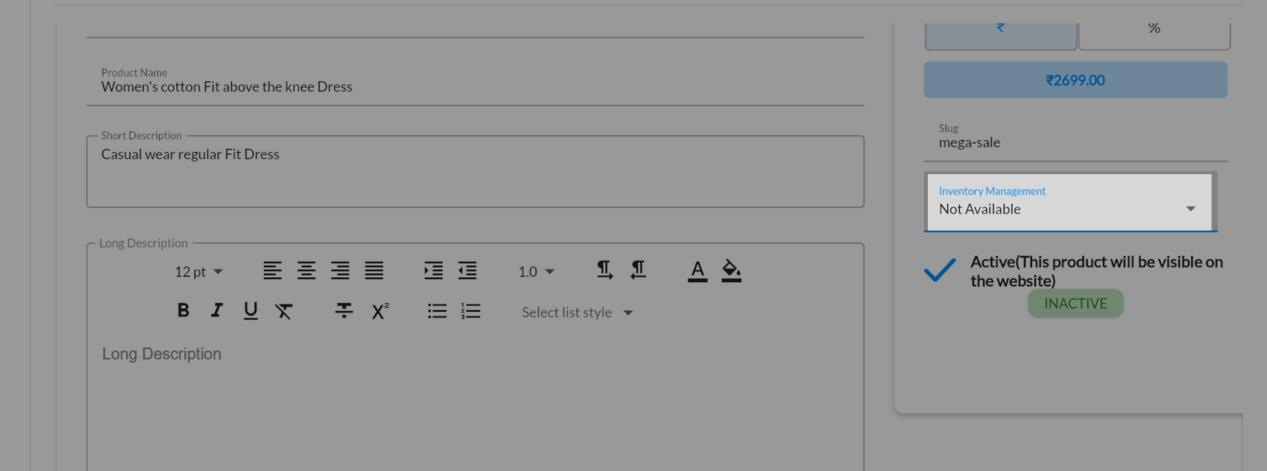
- Select Not Available if you don’t have that product available.
- Click on UPDATE.
Android
Set Product Price
1. Login into your MCA Mobile Admin App
2. click on ![]() , select Products
, select Products
3. Edit Product, Add MRP and Discounts if any.
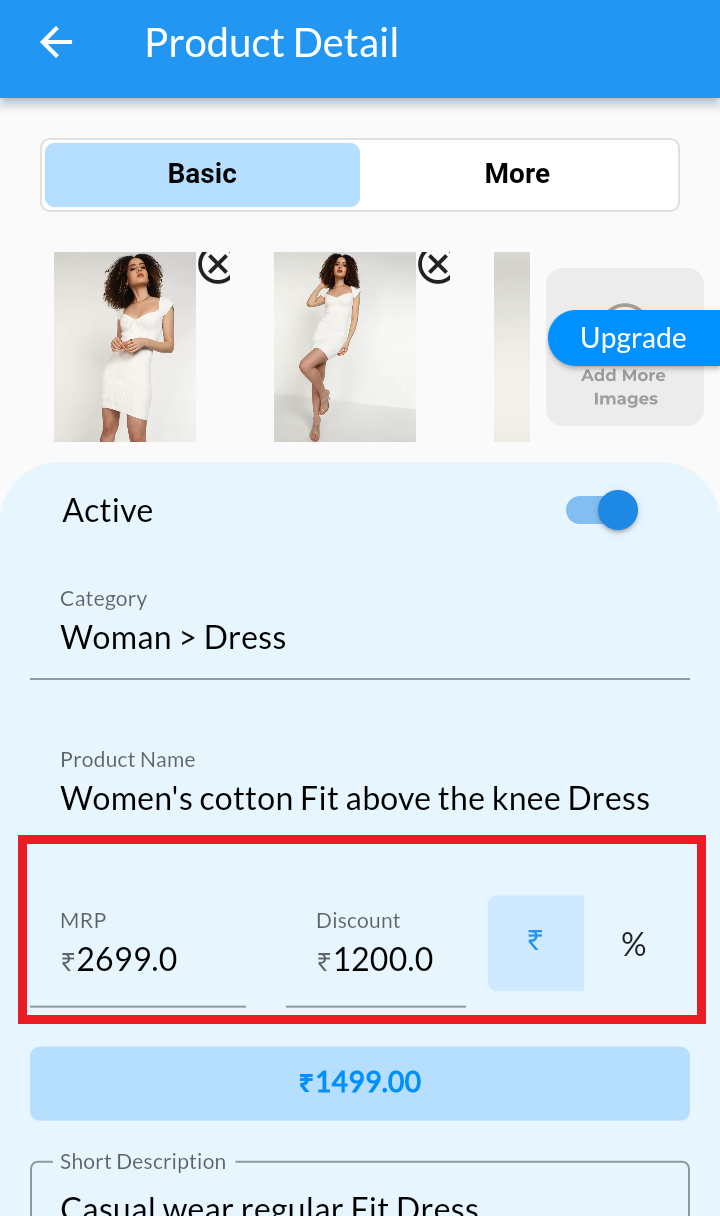
4. You can set Discount as in Rupees or Percentage. (Note: Write 0 if there is no discount.)
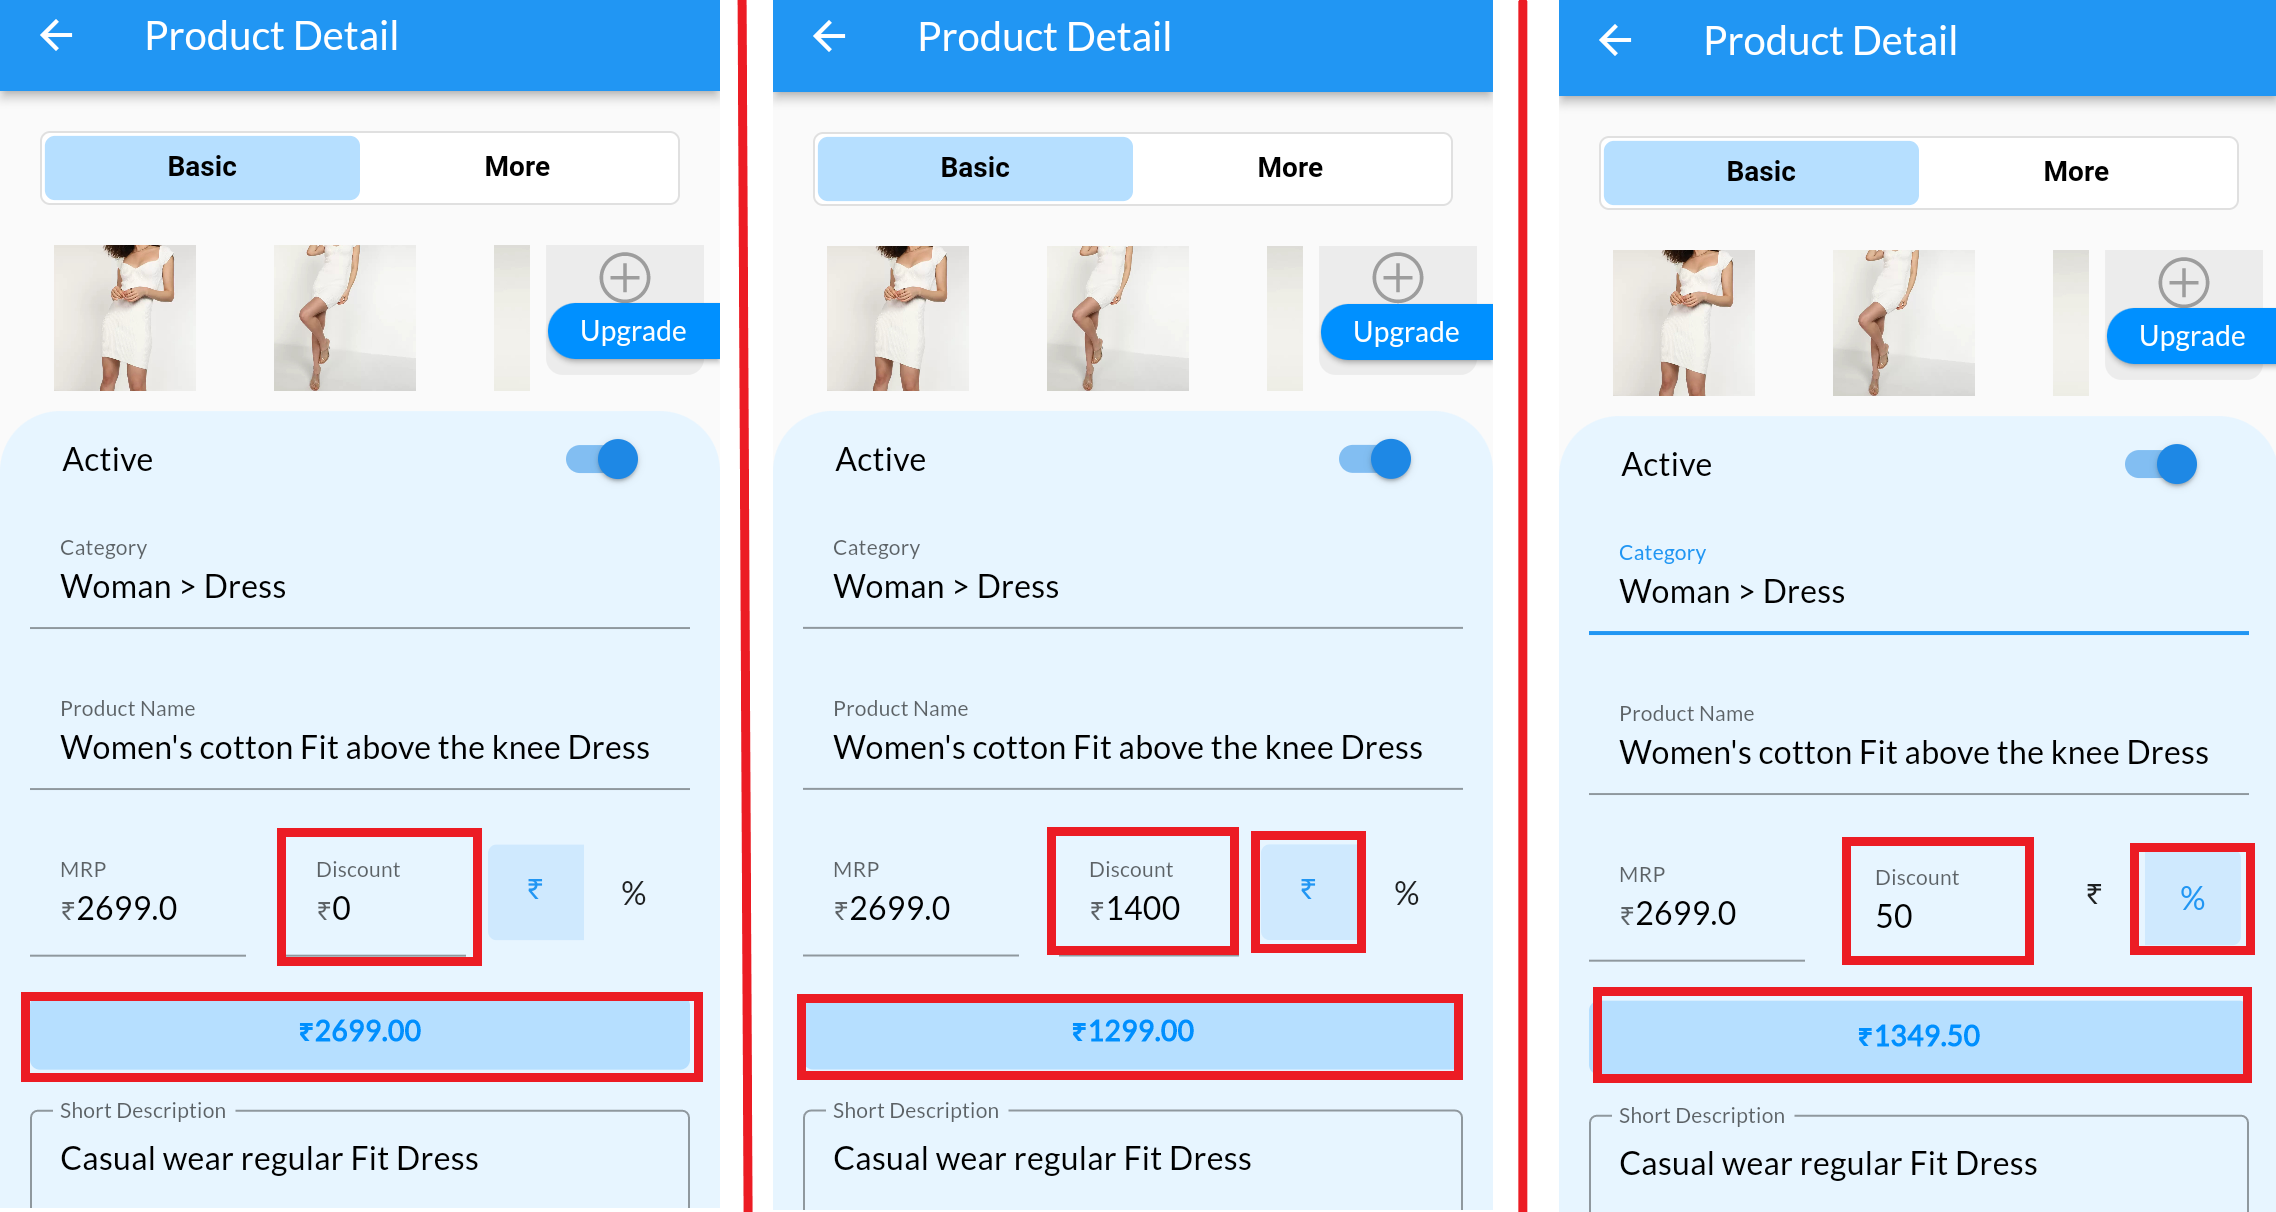
5. After discount price will automatically show there.
6. Click on Update
7. This price will show on front site of your website.
Set Product Inventory
1. Set Inventory to Always Available, Limited or Not Available
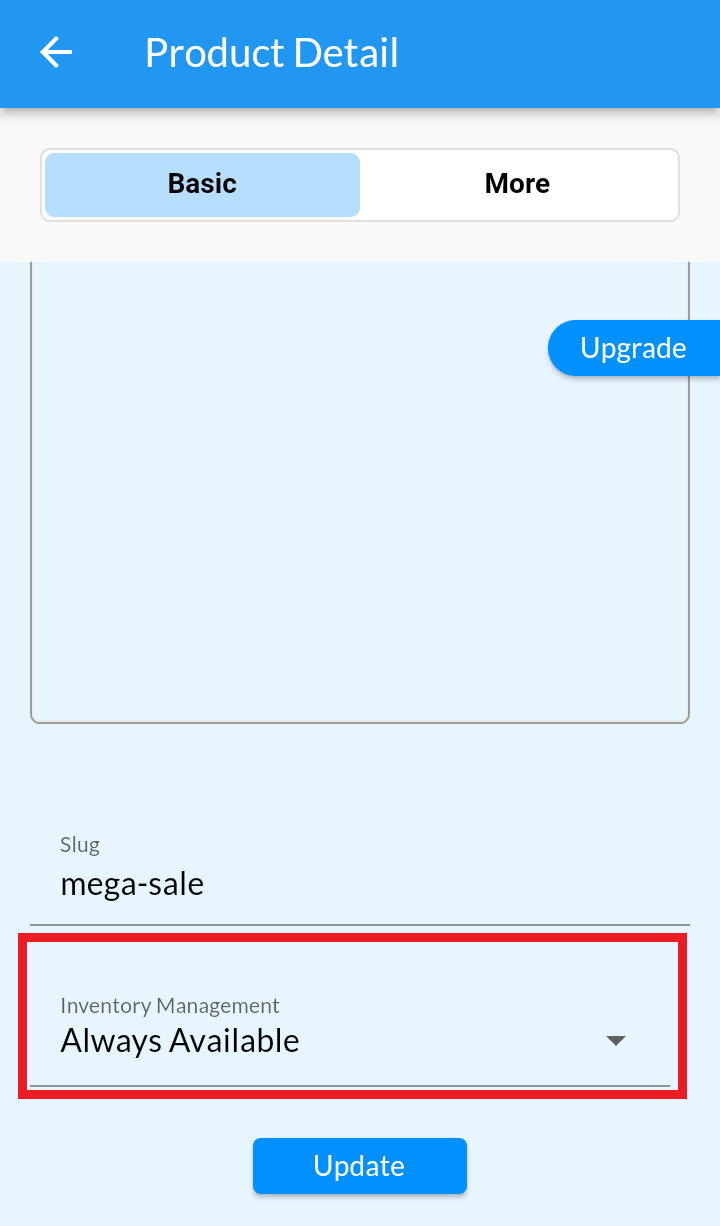
2. Click on Update.
Delete Product #
Desktop
You can delete a single product, or multiple products by selecting multiple checkbox in Product List and click on Delete Button near Status Filter.
- From your MoreCustomersApp admin panel, select Products
- In Manage Products select the product you want to delete
- Click on Delete icon button
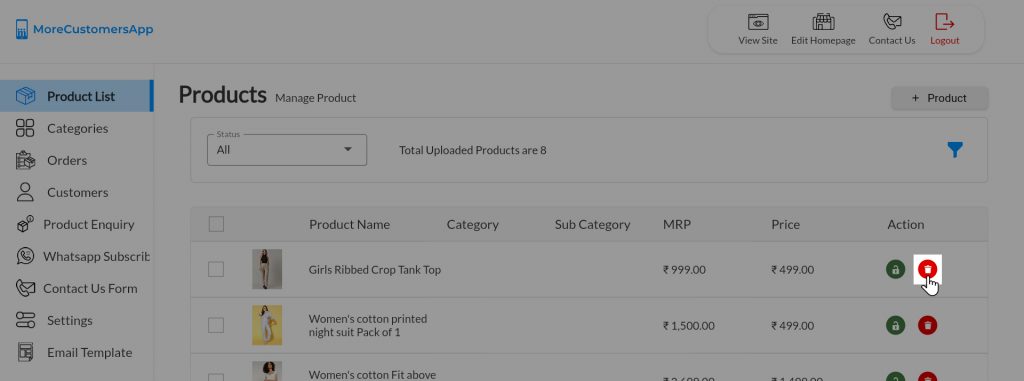
- Click OK on notification. (Note: When you delete a product, it's permanently removed from MoreCustomersApp. Deleted products can't be restored.)

Android
1. Login into MCA Admin App
2. Click on ![]() , Select Products
, Select Products
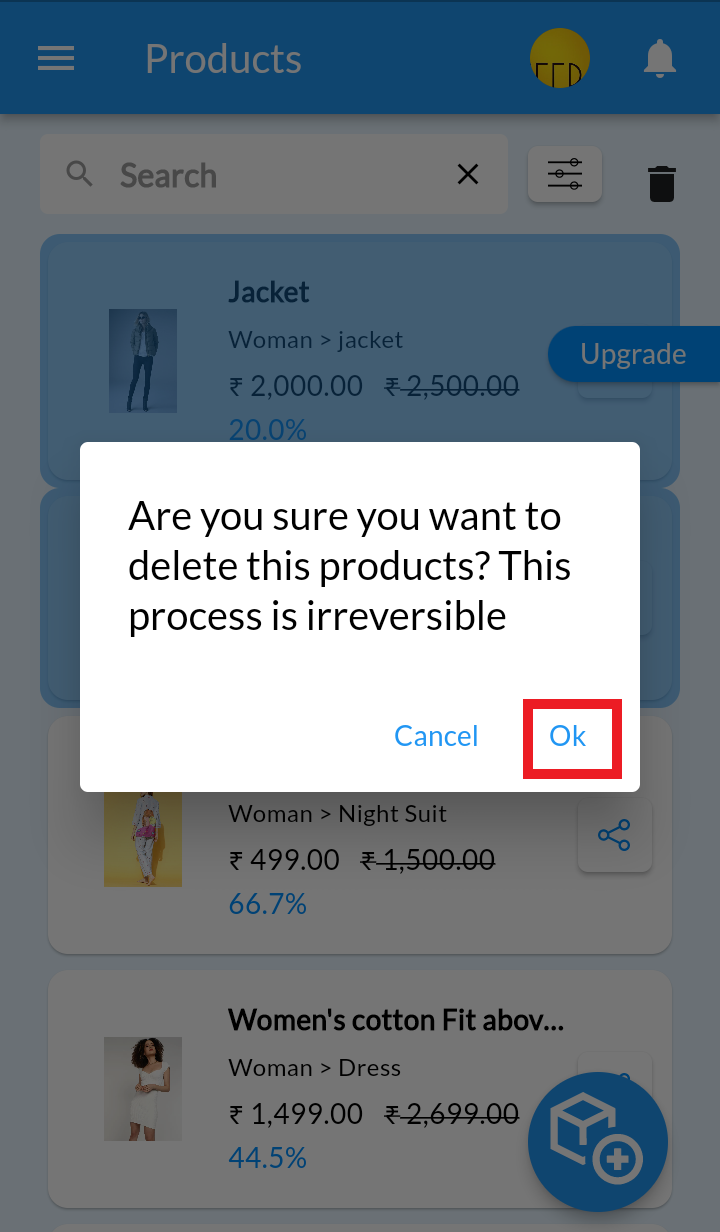
3. From Product List, long press on product and click on delete. Note: You can select multiple products to delete
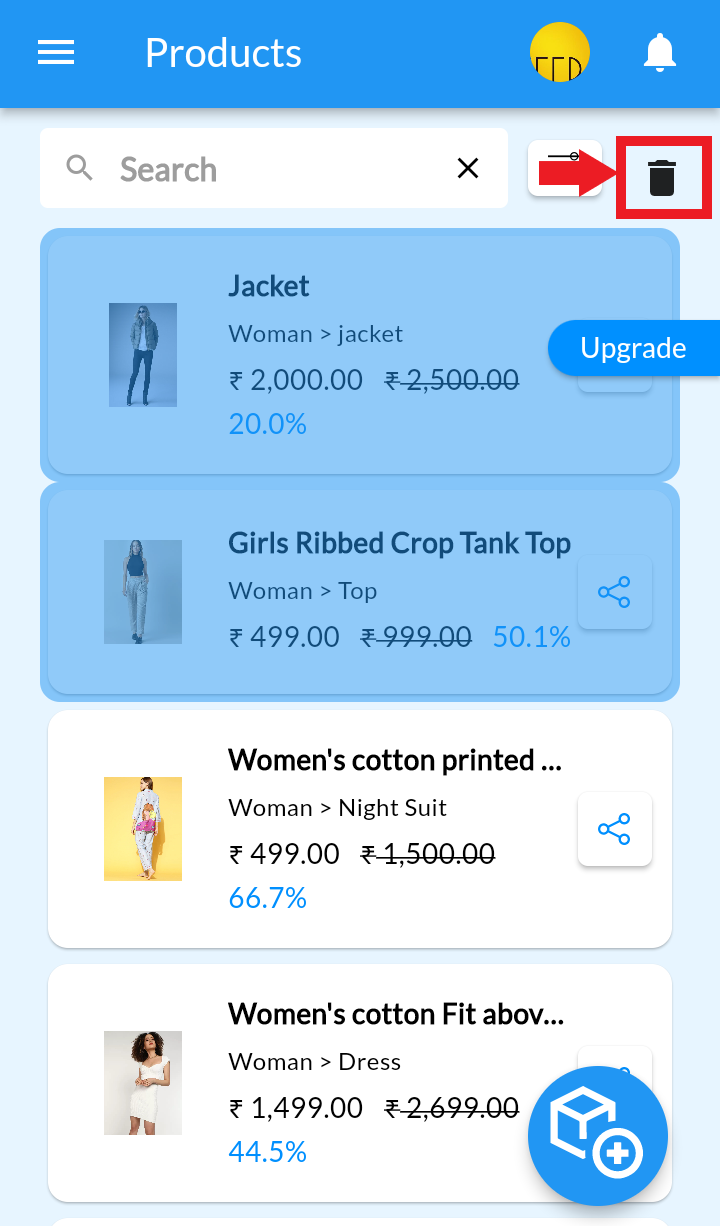
4. Click on Delete icon, Accept the warning and click on OK
Active/ InActive Product #
If you run out of stock or no longer want to display a product for any reason on your website/store, and don’t want to permanently delete it, then you can InActive the product.
Desktop
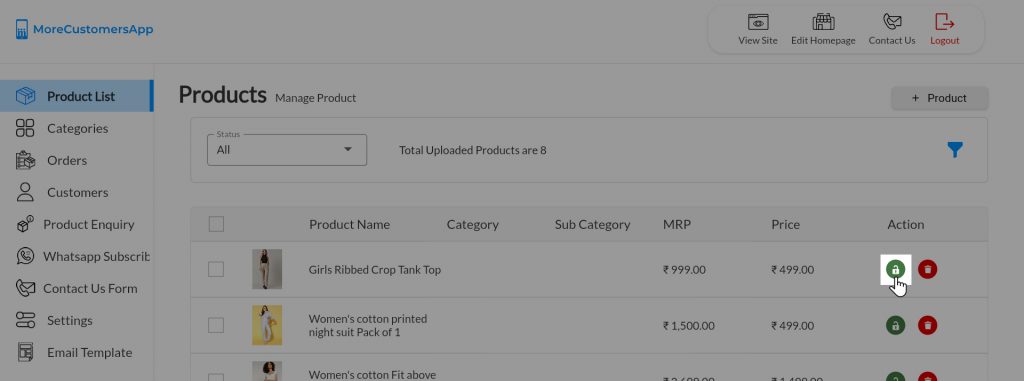
- From your MoreCustomersApp admin panel , select Products
- In Manage Products Click on UnLock button (green) of the product which you want to inactive.
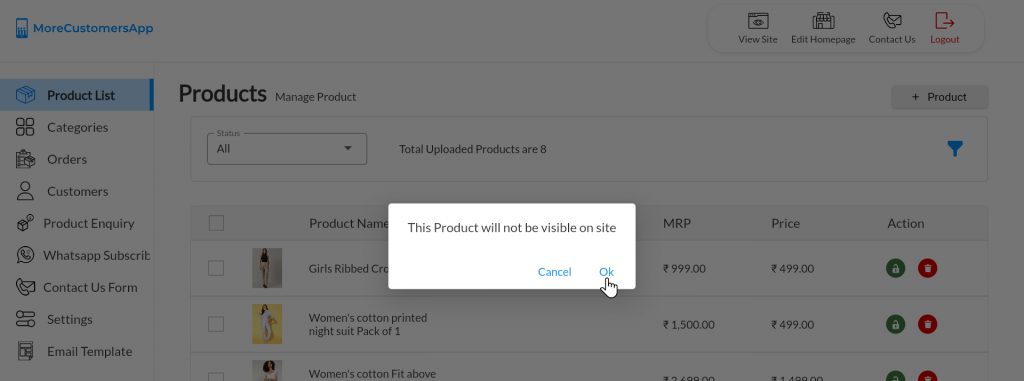
- Click OK on notification. (Note: Products that are in InActive Status are not shown on front website/Store. You can get list of all such products by select InActive in Status Filter)
- To make it Active, click on Lock button(Red) and click OK on notification.
Android
1. Login into MCA Admin App
2. Click on ![]() , Select Products
, Select Products
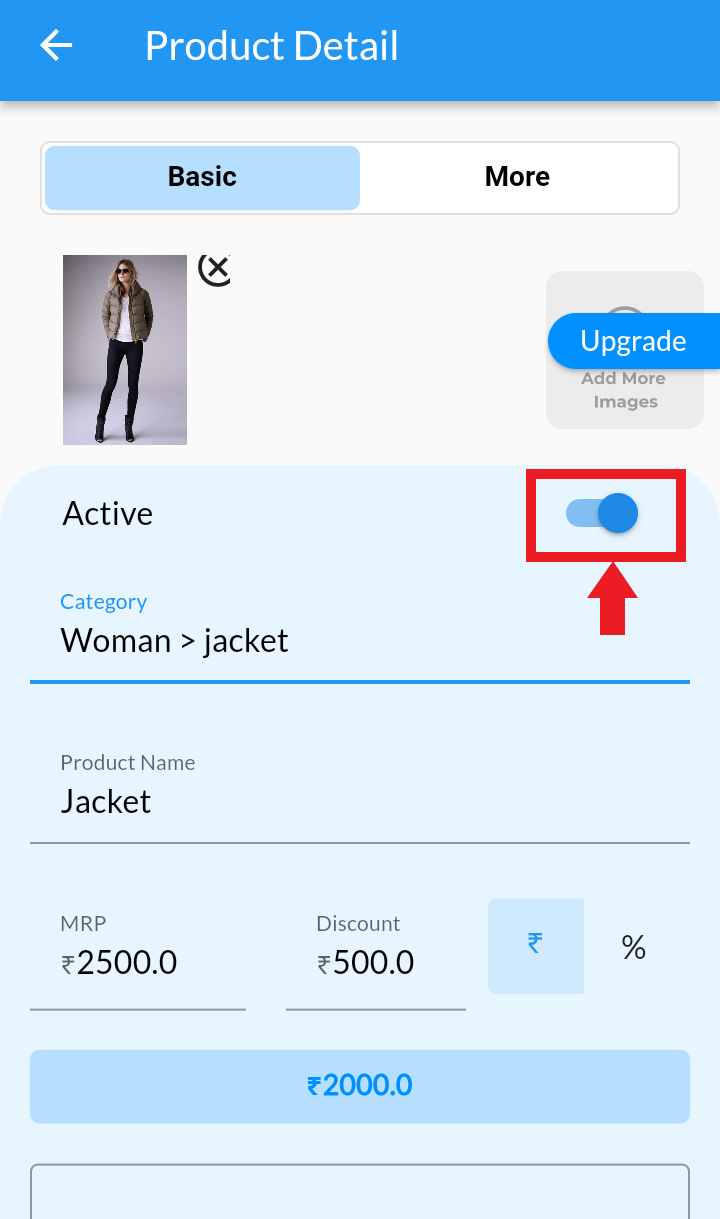
3. Edit the Product, Click on slide button to inactive product. (Note: Blue is active/ Grey is inactive.) Inactive products are not visible on website.
View Products on Website #